When it comes to cloud hosting, DigitalOcean is one of the most beginner-friendly platforms. With its simple interface and scalable pricing, deploying your first server (known as a “Droplet”) is a breeze. Whether you’re looking to host a small website, run applications, or experiment with different setups, DigitalOcean makes it easy to get started.
In this guide, we will walk you through everything you need to know to deploy your first Droplet. By the end, you’ll be ready to launch and manage your own cloud server.
1. Introduction to DigitalOcean Droplets
A Droplet is a virtual private server (VPS) hosted on DigitalOcean’s cloud infrastructure. Droplets allow you to deploy your own servers quickly and efficiently. They’re perfect for hosting websites, apps, or other services. DigitalOcean stands out for its ease of use, making it an ideal choice for beginners in cloud hosting.
Why DigitalOcean is great for beginners:
- Simplicity: The platform is known for its user-friendly interface.
- Scalability: You can easily scale your Droplet based on your needs.
- Affordable Pricing: With plans starting at just $5/month, it’s budget-friendly.
- Extensive Documentation: DigitalOcean has a vast library of tutorials to help beginners navigate the cloud.
2. Prerequisites for Deploying a Droplet
Before you can launch your first Droplet, you need to ensure you have the following tools and accounts in place:
- DigitalOcean Account: Sign up for a DigitalOcean account and start with 200$ credit
- Payment Method: DigitalOcean requires you to add a payment method.
- SSH Keys: For secure access to your server, set up an SSH key on your local machine. You can refer to DigitalOcean’s guide on creating SSH keys.
3. Step-by-Step Guide to Creating Your First Droplet
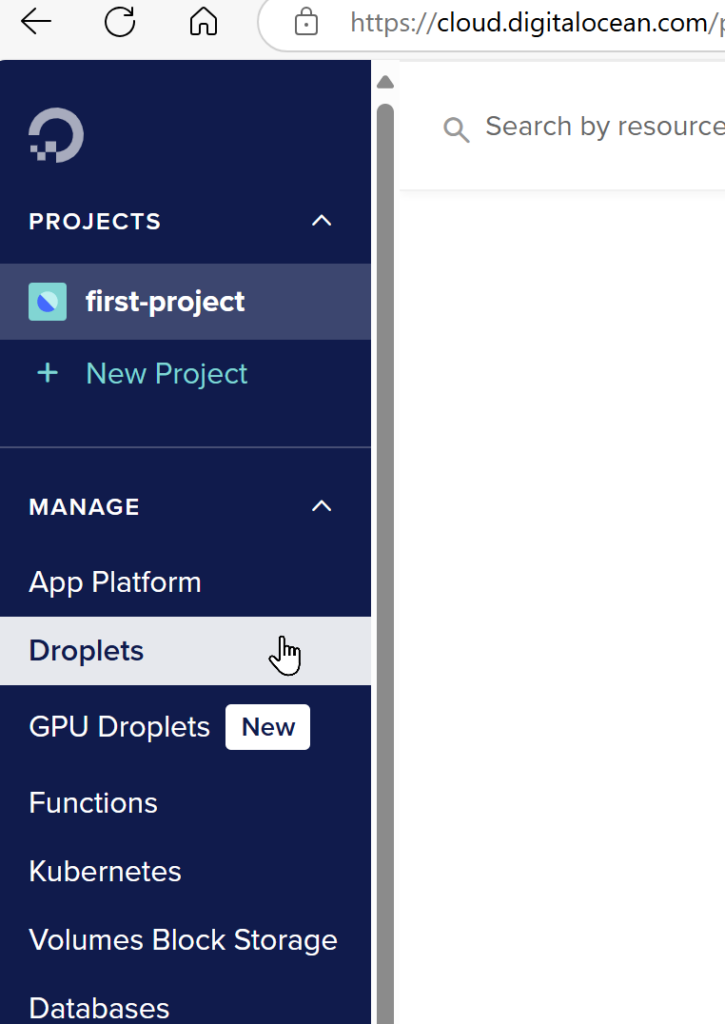
- Login to DigitalOcean: Once you have your account set up, log in. Select Droplets product on the left menu

- Create a Droplet: Click on the “Create” button in the top-right and select “Droplet.”
- Select a Data Center Region: Choose a location near your target audience (or your location) to reduce latency.
- Choose an Operating System: Select your OS. Many beginners prefer Ubuntu for its ease of use and widespread support.
- Choose a Plan: For most beginners, the $4 or $6/month plan is sufficient. You can upgrade later as your needs grow.
- Add SSH Keys: Add the SSH key you set up earlier.
- Finalize and Create: Give your Droplet a name and click “Create Droplet.”
In just a few minutes, your Droplet will be live, and you’ll receive an IP address to access it.
4. Accessing and Configuring Your Droplet
Once your Droplet is live, it’s time to access and configure it:
Access via SSH:
- Open your terminal and run
ssh root@your_droplet_ip - Replace
your_droplet_ipwith the IP address you received when creating the Droplet. Here you can see how i did login using my GitBash in Windows11 machine.
Update the Droplet:
- Run the following commands to update the server:
apt update apt upgrade
Basic Configurations:
- Create a new user:
adduser your_username - Grant administrative privileges:
usermod -aG sudo your_username - Set up a basic firewall:
ufw allow OpenSSH ufw enable
5. Installing Web Servers or Applications
At this point, you’re ready to install a web server or application of your choice. Here’s how to set up a basic web server:
Installing Nginx:
apt install nginxOnce installed, you can visit your Droplet’s IP address in a browser to see your web server in action. If you’re planning to install a CMS like WordPress, you can follow their respective installation guides.
6. Monitoring and Managing Your Droplet
DigitalOcean offers several built-in monitoring tools to help you keep track of your Droplet’s performance. You can enable monitoring when creating the Droplet or later from the dashboard.
Key monitoring features:
- CPU Usage: Track how much processing power your applications are using.
- Bandwidth: Monitor the amount of data being transferred in and out of your Droplet.
- Disk Usage: Ensure your server isn’t running out of storage.
For performance optimization:
- Enable swap space to increase available memory.
- Use caching solutions like Varnish or Redis for faster website performance.
7. Conclusion: Next Steps for Managing Your Droplet
Now that your Droplet is up and running, it’s time to think about long-term management. Here are some key tasks you should consider:
- Security: Set up automated backups, and enable two-factor authentication for your account.
- Scaling: If your traffic grows, you can scale your Droplet by upgrading its plan.
- Backups: Set up automatic backups from the DigitalOcean dashboard to protect your data.
- Monitoring: Keep an eye on resource usage to ensure optimal performance.
With DigitalOcean, managing your cloud infrastructure becomes straightforward. Whether you’re hosting a small project or planning to scale your applications, DigitalOcean gives you the tools and flexibility to succeed.
Ready to deploy your first Droplet? Sign up for DigitalOcean here and get started today!